
The Reolink Argus Pro brings simplicity & quality to the Smart Home Security Market
If you've never heard of Reolink before? Then you're missing out!
We've had two of the Reolink Argus Pro (wireless) cameras setup for the last four weeks, and can honestly say... it's a no-brainer. Go out and grab yourself one, you won't regret it.
... The Reolink Argus Pro doesn't compromise ...
The Reolink App is highly-polished (iOS & Android compatible), easy to use, and the cameras themselves feature top level build quality with plenty of accessories.
Taking a look at the smart home security market and there a few big players that stand out: Netgear's ARLO, Amazon's Blink & Ring, Google's Nest & the more budget Xiaomi Yi Range.
And Reolink are up there with the best of them!
Since all the above companies offer wireless options, it comes down to Price, Video Quality, Motion Detection Quality and finally how polished each of their respective apps are.
For this review, we'll see how the Reolink Argus Pro cameras compare.
View this week's best Reolink Argus Pro deals:
- Super Wide-Angle Viewing (130 degrees)
- Excellent Reolink App
- Battery Life + Wireless Connection
- Silicone Case + Tree Mount Included
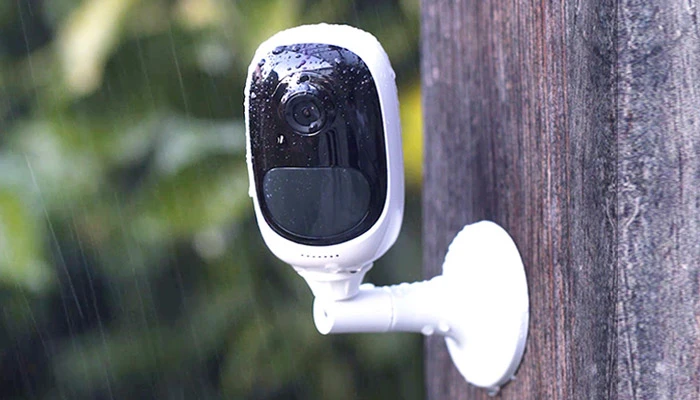
- IP65 Weather Protection
- Premium Design & Build Quality
- Solar Power Option Available
- PIR Doesn't work through windows
- SD Card Port Is Fiddly
- Missing non-permanent Indoor Mount
- No 5GHz WiFi Option
- Cloud Storage Plan (US Only)
Unboxing, Setup & The Reolink App
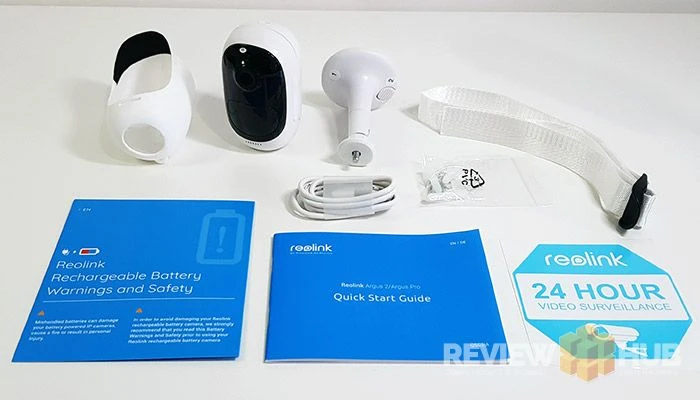
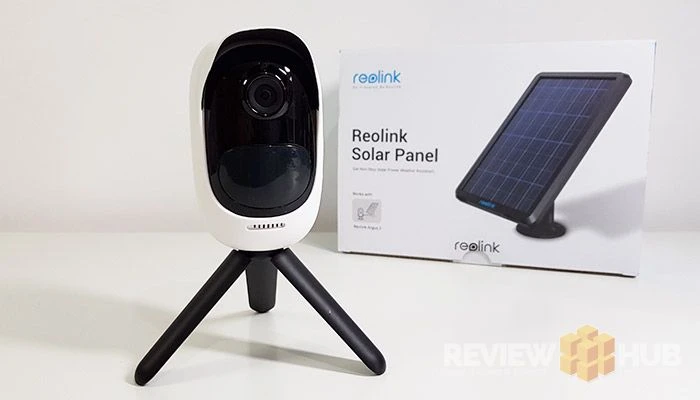
Unboxing the Reolink Argus Pro is a joy. There's plenty of accessories, the build quality is excellent, and there's a comprehensive quick-start guide to get your started.
The Reolink Setup is Quick, Easy & Fun!
As soon as you plug the battery into the camera, you'll receive a voice alert asking you to install the Reolink App. It's a nice touch that adds a futuristic element to the setup.
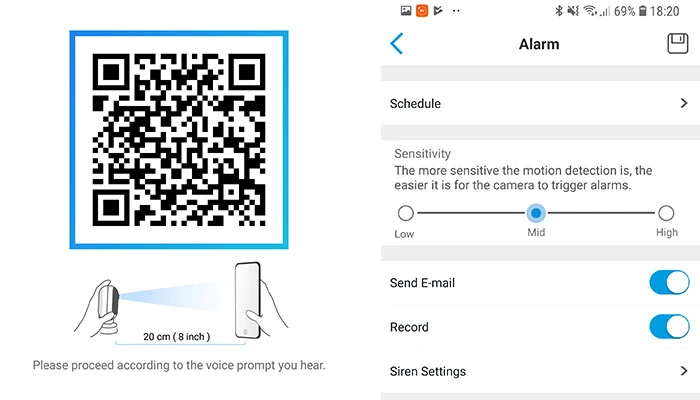
Scan the small QR code on the back of the Reolink camera. Then add your WiFi password. Then aim the Reolink's front camera at the QR code on your smartphone.
You'll now be prompted to set up an account and given the option to enable DST (Daylight Saving Time).
That's it, simple eh!
(If you're interested in installation & fitting methods, you can see the four options at the end of this review.)
Saving Your Reolink Videos
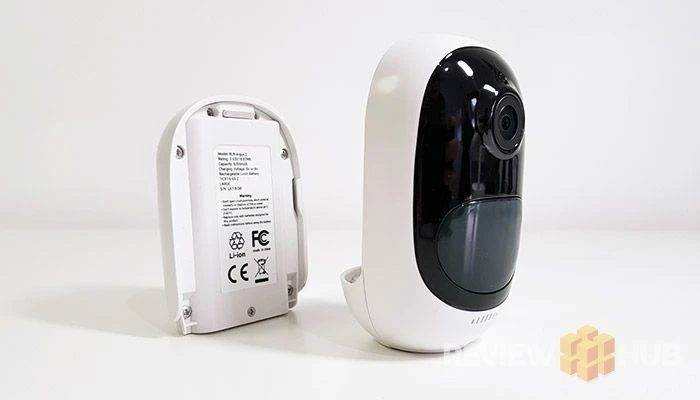
When the PIR sensor is triggered, you'll get an alert to your smartphone and then you can watch the camera live feed. However, if you want to save your videos, you'll first need to install a micro-SD card.
Once installed, you can now use the Playback feature in the app. This shows you a calendar view with all the alerts for each day highlighted, which you can watch back on your smartphone or tablet.
The added benefit of the SD Card is that you can use your Wireless Reolink Camera even if there is no WiFi in range. It'll save your videos locally, and then you can connect using a mobile hotspot or bring the camera inside to view the video.
The downside to this is that you'll lose of the alert functionality which requires an internet connection. Great for spotting the wildlife though!
Video Quality, Motion Detection Testing (PIR) & Extras
On paper, the Reolink Argus Pro has some impressive specs including a Full HD (1080P) lens, 130 Degree viewing angle, Infrared night vision, Two-way audio & an Intruder alarm.
So let's see how it all performed in our real-world testing!
Inside Your Home (Day & Night Video Quality)
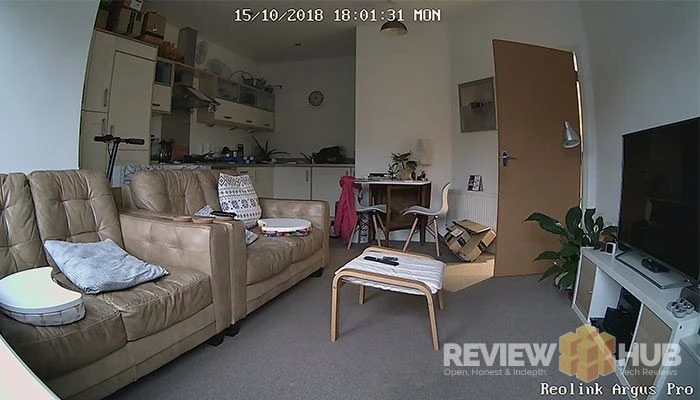
The Reolink Argus Pro produces a great wide-angle view of any room. This allowed me to easily capture a full view of my living room without any awkward angling or having to install it in a corner crevice.
The footage itself is clear but distorts around the edges due to the fish-eye lens. Compared to Yi Security camera, you're getting a lot more viewing area on the Reolink.
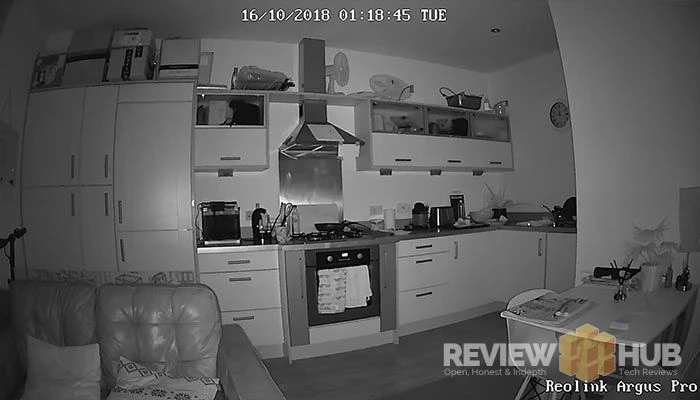
For indoor night vision, you can use that the inbuilt infrared lights clearly light up room showing plenty of detail. The photo above was taken in pitch black with only the inbuilt Reolink Infrared lights turned on.
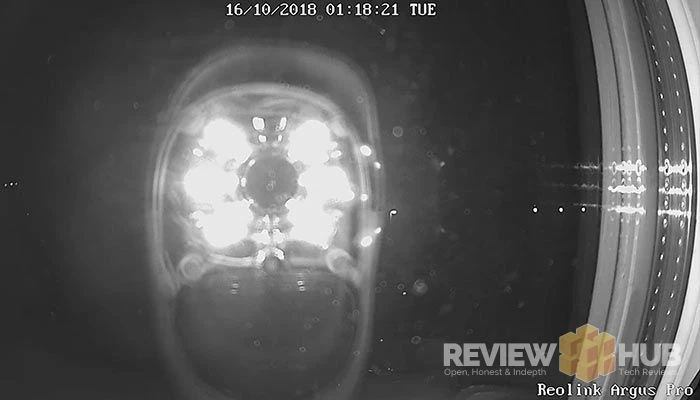 With infrared lights on next to a window
Night Vision Through A Window
To use the Argus Reolink Pro through a window, you'll first have to turn off the Infrared Night vision lights (via cam settings) as these cause reflections in the glass.
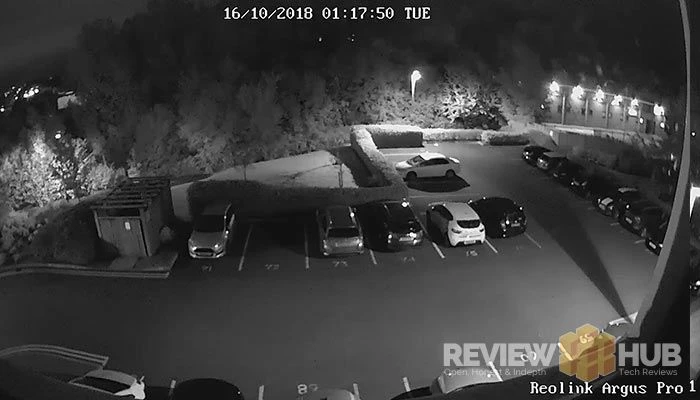
During the last 4 weeks of testing, I've been pointing the camera down to my apartment car park. While mainly just cats & foxes, we also got our fair share of unscrupulous individuals looking into cars and routing through the bin storage.
But, since the PIR detection on the Reolink Argus Pro works via the Infrared, you won't get any alerts through a window. If you're planning on using the camera for security, you can use the included mount to place your Reolink Camera outside the window.
It'd be great if, in a future update, Reolink added a pixel detection method (works through window) to the Argus Pro. This way we could choose in the settings which detection type to use.
Outdoors with the Solar Panel
Since the Argus Pro is wireless, weather-proof and comes with a tree strap and optional solar panel, it's the perfect camera to set up in the garden.
I'm going to install this at my parent's rather more luxurious house to see what wildlife we can capture. I'll update you on how this goes very soon.
Extra Features
As well as recording day and night footage, the Reolink Argus Pro has some nifty extra features. You can use the camera to talk via the Two-way-audio and you can also set off an alarm / siren sound.
These features absolutely fantastic if you want to scare the heck out of your beloved ones! Oh and can scare off would be intruders. You can set the Siren to manual or automatic.
Reolink Battery Life & Solar Panel
Battery Life depends on how often the Reolink Camera is triggered and for what length it's set to record for. Even with this in mind, our cameras have lasted over a month with the sensitivity set to high and PIR set to 24 hours a day.
If you set up an evening/night alert schedule (11pm-6am), I can easily see the Reolink Argus Pro lasting 3-6 months off a single charge. It's not something you have to worry about though as the Argus Pro will automatically alert once the battery reaches 10%.
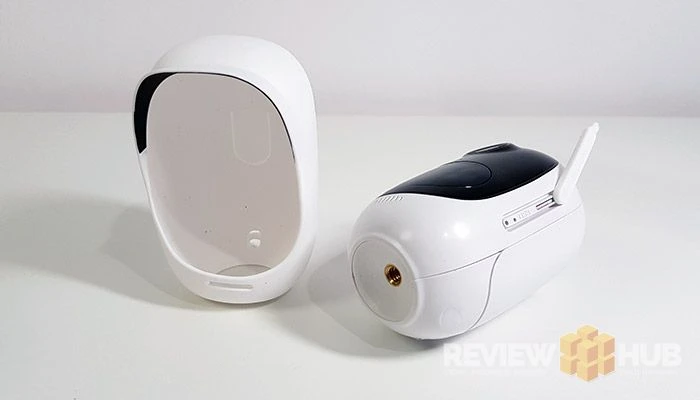
To charge the camera, you insert a standard Micro-USB cable hidden behind a weatherproof seal. If you're planning on using the solar panel you can cut through the outer weather seal.
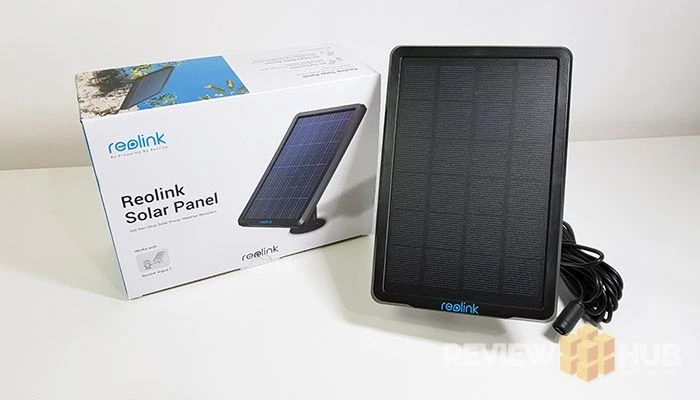
If you're looking for an outdoor camera, then the Reolink Argus Pro comes equipped with a Solar Panel that'll keep the camera charged permanently.
The Reolink Argus Pro uses a standard camera screw mount. See attached a 3rd party tripod.
Reolink Argus Pro - The Verdict
For the price, the Reolink Argus Pro offers a lot. The super-wide angle full HD camera combined with the polished Android App and super-comprehensive Reolink Help Forum: makes the Argus Pro Camera hard to beat.
It does have a few cons though, such as the PIR alerts not working through glass, medium performance night vision and lack of 5Ghz WiFi but even so, the pros far outweigh these.
Do we recommend the Reolink Argus Pro? Yes, if you're looking for a reliable wireless security camera with PIR security alerts and an easy setup process, then Argus Pro has you covered.
Another bonus is that you're buying into the Reolink Eco-system. This means you can mix and match their products to suit all your indoor and outdoor needs. For instance, the Reolink Pro 2 (wireless) offers the enhanced 'Starlight Night Vision' or you could opt for a mains powered camera for when there's easy power access.
Grab yourself a Reolink Argus Pro now...
Installation Methods
With the Reolink Argus Pro, you've got four options for installation.
If you're using the camera indoors, you can simply place it down and it'll stay upright. Placing it on a bookshelf, your sideboard or anywhere between hip & head-height would be ideal. As the wide-angle lens captures a large field view, you could skip the mount altogether.
The second method is using the included mount. This attaches to the Argus Pro via a standard 1/4" camera fitting and can be permanently mounted onto any wall. You first screw the plate into its pre-marked location and then fit the mount on top. From here, you can angle the camera easily.
With the same 1/4" screw fitting, you could get creative and add your own mount. Maybe a Gorilla Pod Grip?
The fourth method is using the included Reolink tree strap which you can wrap around a branch without causing any damage. This is perfect if you want to use the Argus Pro outside or move it around.
Comment submitted successfully! It will appear once approved.
Submission failed. Please verify the Captcha and try again.
I've got the Reolink Argus Pro set up in my office. So if you have any questions, just comment below and I'll be happy to answer! Thanks for reading!
I am thinking of getting this for home for outdoor. Does this work with Synology NAS?
Hey Nasir,
Thanks for the question, I'd contact them directly as I haven't had experience using it with a Synology NAS.
I actually gifted it to my Dad and I think it's still sat in the draw at the moment. I'll keep you posted if he ever set it up :D